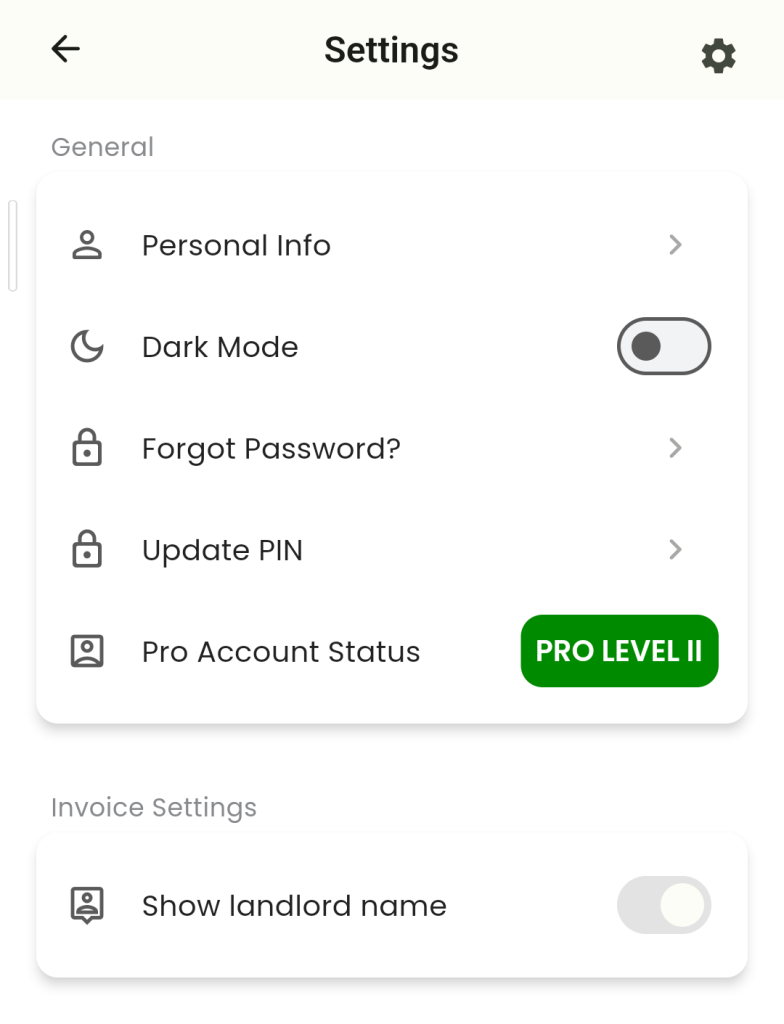
The settings page lets you edit a few important aspects of the app. In this screen, you get links to edit your personal info, the security settings and the appearance of the app, upgrading plans as well as links to additional pages.
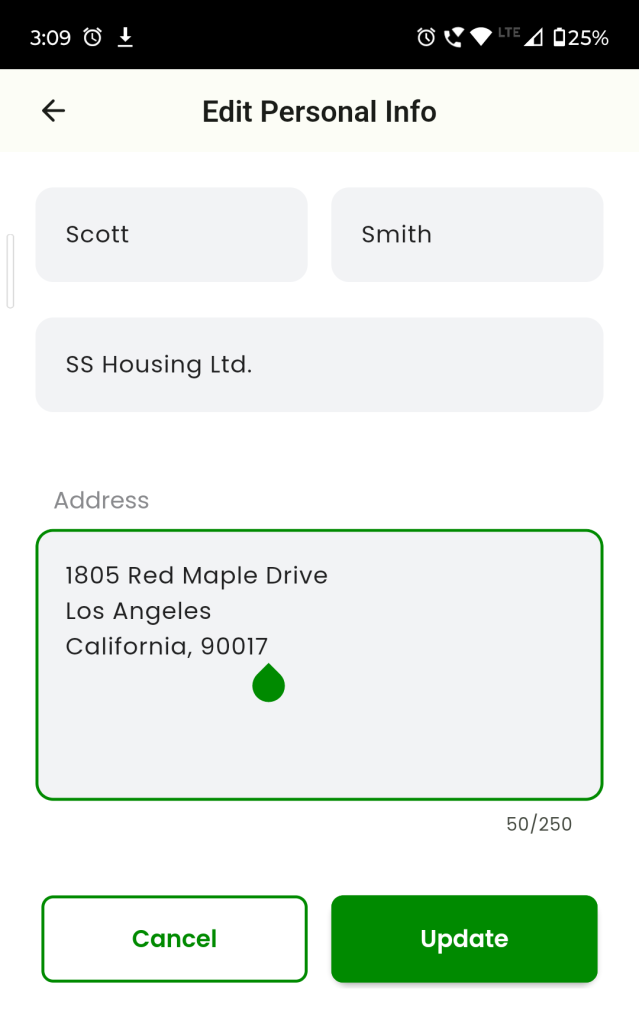
Edit your personal information
The settings page allows you to edit your name, your business name and your address. To do so, click on “Personal Info” and you will be taken to the “Edit Personal Info” screen. Here, you will see some text input fields that will be pre-filled with their original values. To edit any value, click on the corresponding text input and edit its text. Once done, press “Update”. You will now return to the Settings page and your personal info will be updated.
To cancel editing your personal info, on the “Edit Personal Info” page, tap on Cancel.
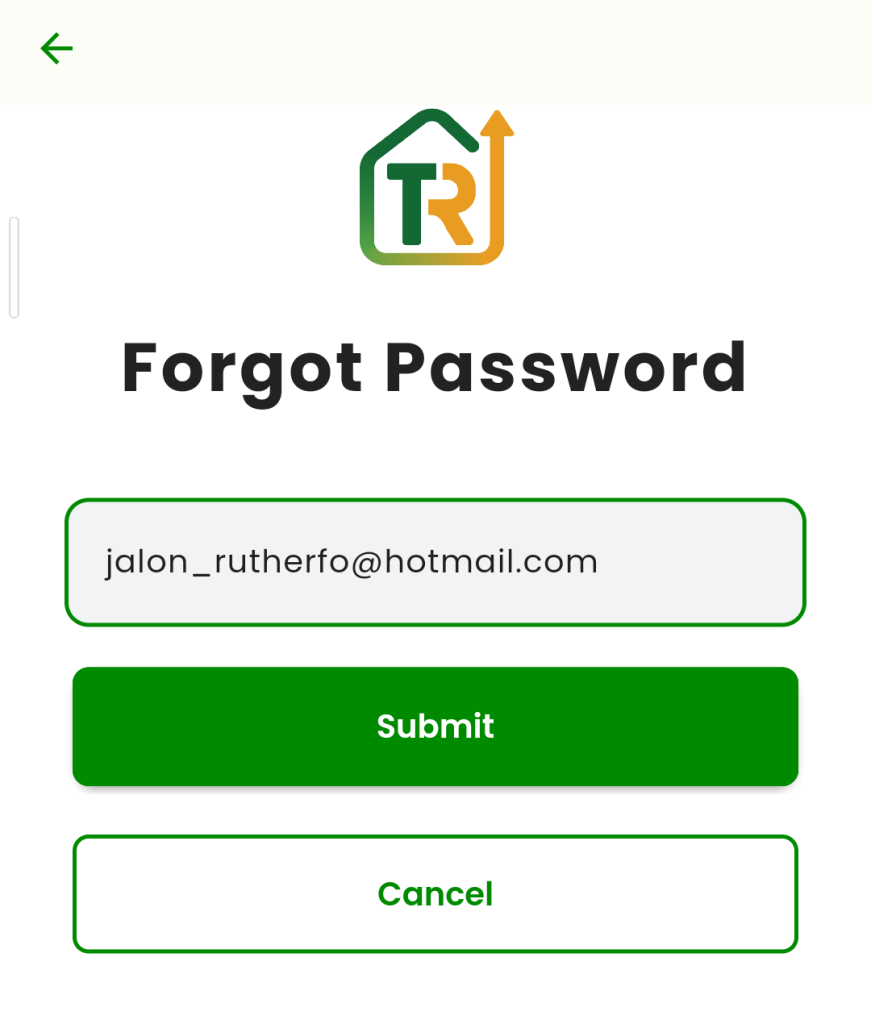
Reset your Password (Forgot Password)
In case you seem to have forgotten what your account login password was, you may send a request to get a password reset email. This email will contain a secure link that will take you to a web page which will allow you to update your password. To utilise this feature, tap on “Forgot Password” and enter the email address with which your account is registered. You will now be able to find the email for resetting your password. (Please ensure to check the “Spam” and “Promotions” folders in case you are unable to find the email in your inbox)
You may tap on Cancel anytime in the “Forgot Password” screen to cancel the process. Your password will not be reset in that case.
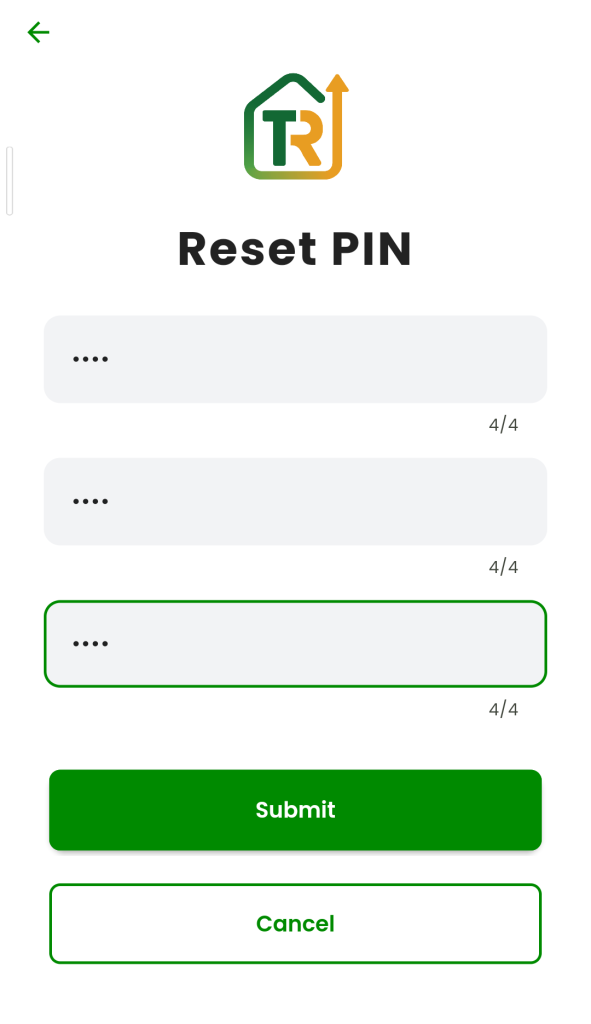
Update PIN
In case you set a PIN for offline logins into the app, you will have the option to update your PIN. Tap on the “Update PIN” button and you will be taken to the “Reset PIN” page. Here, you need to enter your old PIN on the topmost password input field. In the second one, enter the New PIN and in the third one, re-enter your New PIN to confirm. Once done, tap on “Submit” and you will be taken back to the Settings Page.
You may tap on Cancel anytime in the “Reset PIN” screen to cancel the process. Your PIN will not be updated in that case.
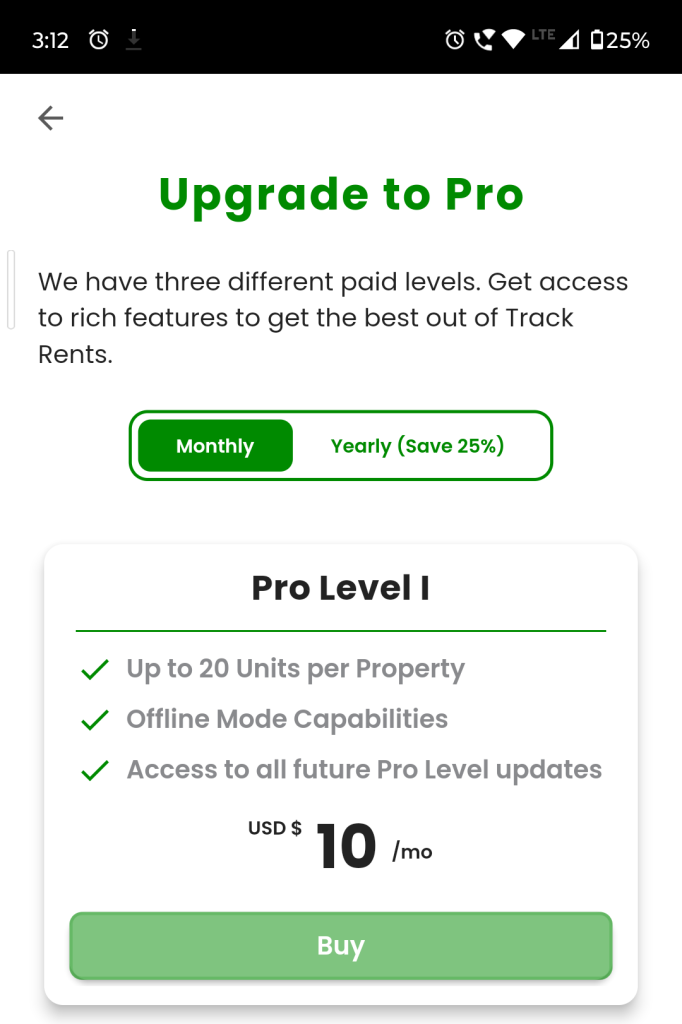
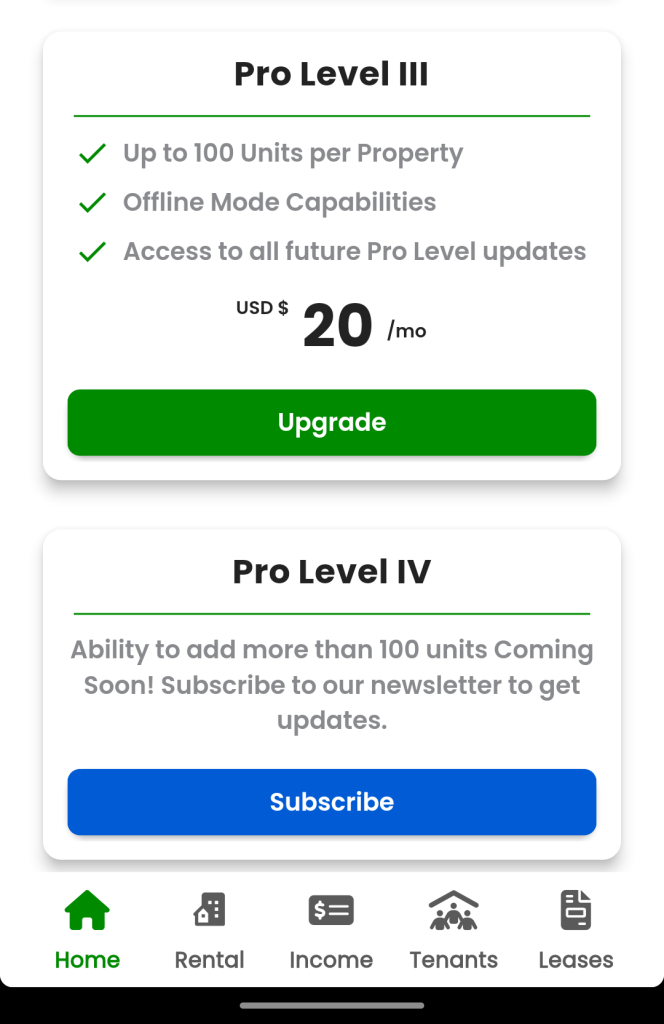
Purchase/Upgrade Pro Account
To add more features and expand the functionality of Track Rents, you can opt into our paid Pro accounts at any time. To do so, tap on “Pro Account Status” and you will be taken to the “Upgrade to Pro” page. Here, you will be able to purchase a pro account level of your choice or upgrade your existing Pro level. You can also switch between Monthly billing and Yearly billing.
Change the Theme
Track Rents comes in two themes – “Light” & “Dark”. Initially, the app intelligently gets the theming state of your device and sets the app theme according to it (The app is set to Dark theme if the user’s device is using Dark mode). You can permanently change the theme and set it to a constant value. To do so, press on the switch with the label “Dark mode”. This will permanently enable dark mode for Track Rents regardless of your device’s theme settings. To set the theme to light mode, press the switch again to disable it.
Note that after editing the theme of the app, you will not be able to set it to change according to the system theme settings.
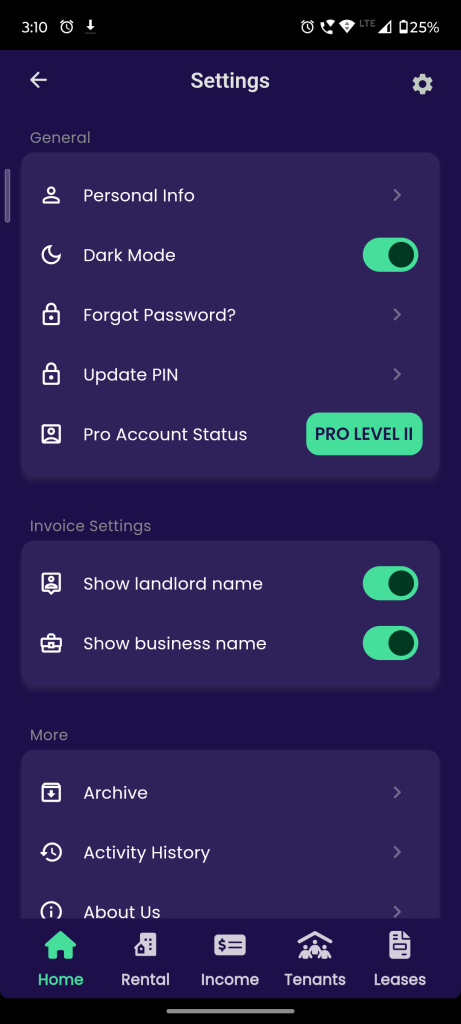
Invoice Settings
Track Rents allows you to change the visibility of a select few details from your personal info. You can choose to display either your Personal Name or your Business name in all your Track Rents generated invoices. To change their visibility, tap on the corresponding switches.
Note that at least one of the two details must be mentioned in the invoice.
In case you have not entered any Business Name, you will only see the option of changing the visibility of your personal name. This, by default, will be set to true and will not be editable. To hide your personal name, please submit a Business name in your personal info and make it visible instead.
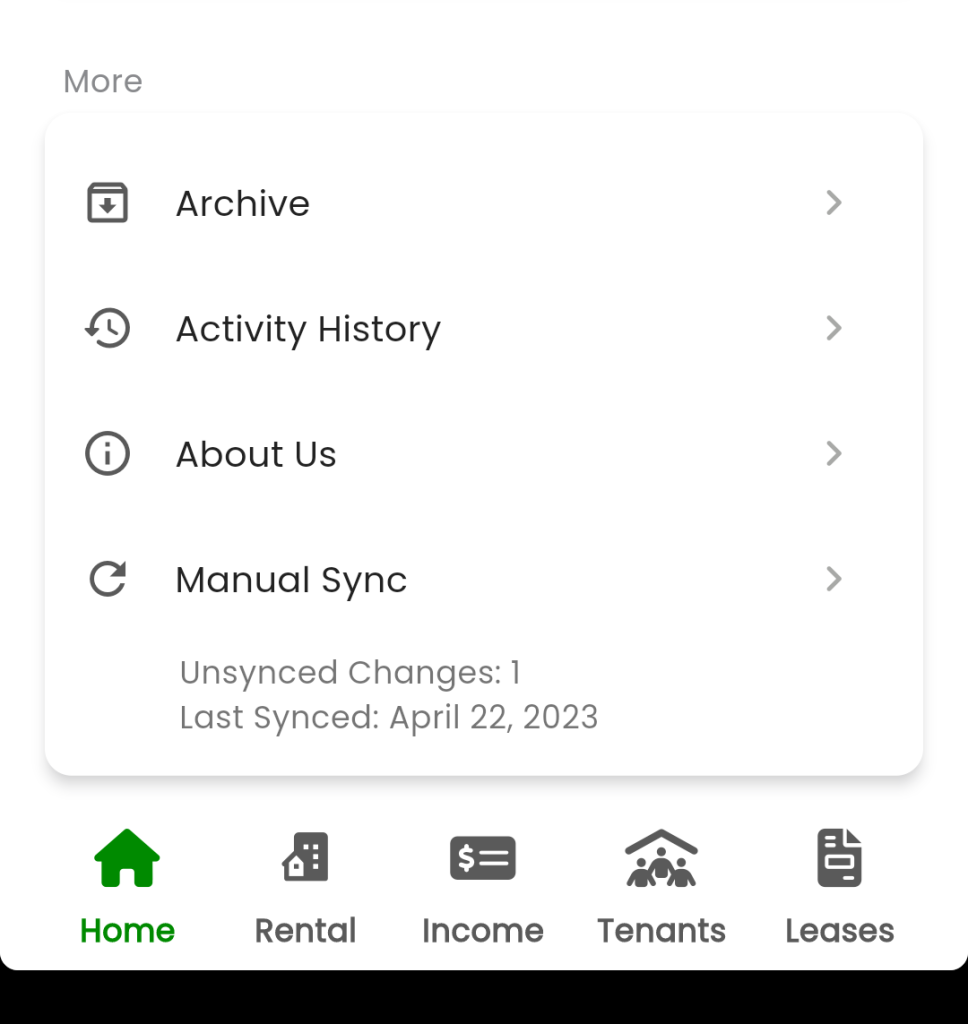
More
The Settings Page also provides links to other important but seldom-used pages such as archives and activity history. To access them, tap on the corresponding tiles.
If you have purchased a Pro Account, you will see an option to manually sync your data to the cloud. Track Rents performs data synchronisation silently in the background. But to manually push all your data to the cloud, tap on “Manual Sync”
Comments are closed.